


How to Install a 1HD-FTV Engine in Your Toyota Land Cruiser
How to Install a 1HD-FTV Engine in Your Toyota Land Cruiser
Installing a 1HD-FTV engine in your Toyota Land Cruiser can be a rewarding project that enhances the vehicle’s performance and longevity. This step-by-step guide will help you understand the process, tools needed, and key considerations to ensure a successful installation. How to Install a 1HD-FTV Engine in Your Toyota Land Cruiser
Introduction to the 1HD-FTV Engine
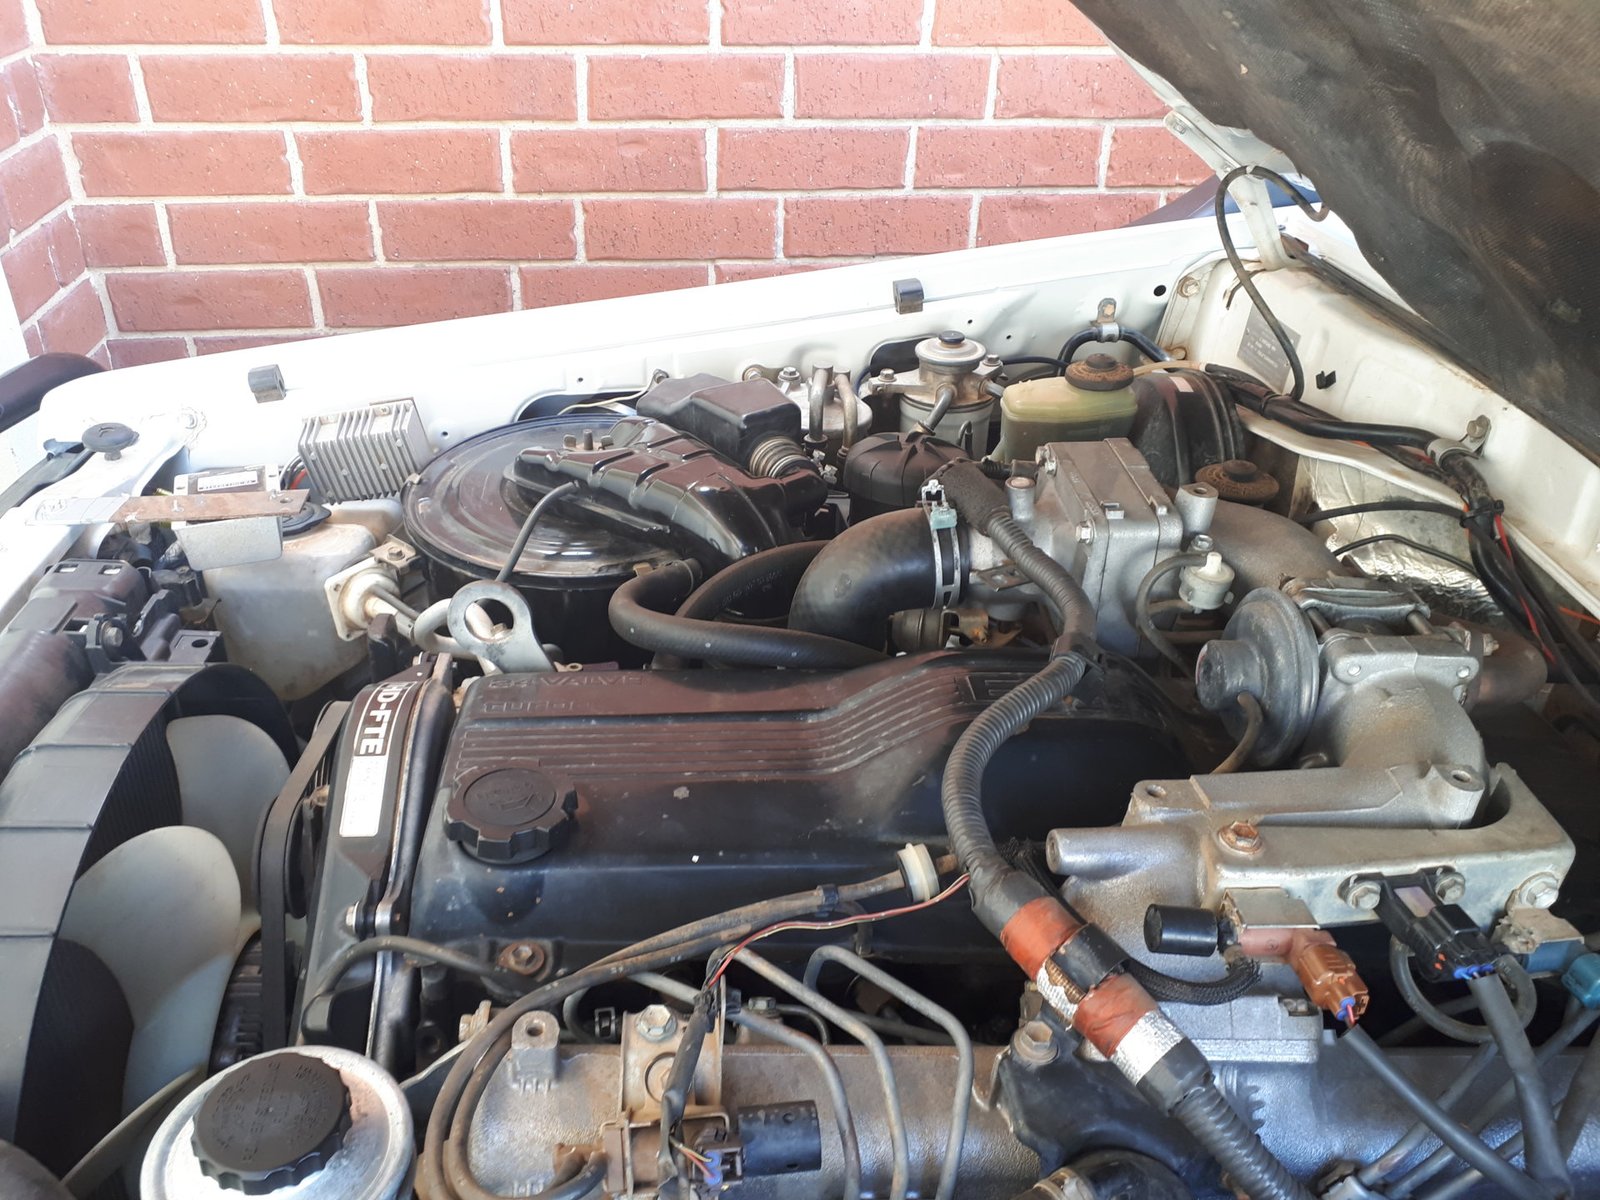
The 1HD-FTV is a turbocharged diesel engine that was used in several models of the Toyota Land Cruiser, particularly in the 80 Series. Known for its durability and power, the 1HD-FTV engine provides a great balance of performance and efficiency, making it an excellent choice for both off-roading and daily driving. How to Install a 1HD-FTV Engine in Your Toyota Land Cruiser
Why Upgrade to a 1HD-FTV?
Upgrading to a 1HD-FTV engine can provide numerous benefits, including:
- Increased Power: The turbocharged nature of the 1HD-FTV offers a significant power boost over the standard engine.
- Better Fuel Efficiency: Diesel engines are known for better fuel economy compared to their gasoline counterparts.
- Reliability: The 1HD-FTV is renowned for its robustness and longevity, making it a dependable choice for any Land Cruiser enthusiast.
- Improved Torque: The engine produces high torque, which is beneficial for towing and off-road capabilities. How to Install a 1HD-FTV Engine in Your Toyota Land Cruiser
Tools and Equipment Needed
Before you begin the installation process, gather the necessary tools and equipment:
- Basic Hand Tools: Wrenches, sockets, screwdrivers, pliers, etc.
- Torque Wrench: For properly torquing bolts to specifications.
- Engine Hoist: To safely lift and maneuver the engine.
- Jack Stands and Floor Jack: To support the vehicle during the installation.
- Fuel Line and Oil Line Connectors: For reconnecting fuel and oil systems.
- New Gaskets and Seals: To prevent leaks during and after installation.
- Coolant: For the engine cooling system.
- Engine Oil: For proper lubrication.
- Service Manual: For specific torque specifications and installation guidance. How to Install a 1HD-FTV Engine in Your Toyota Land Cruiser
Preparation
1. Safety First
Before starting any work, ensure you are wearing appropriate safety gear, including gloves and safety glasses. Work in a well-ventilated area, and make sure you have all tools and parts readily available.
2. Disconnect the Battery
To prevent any electrical issues, disconnect the negative terminal of the battery. This step is crucial to ensure your safety and protect the vehicle’s electrical system. How to Install a 1HD-FTV Engine in Your Toyota Land Cruiser
3. Drain Fluids
Drain all fluids from the engine, including oil and coolant, to avoid spills during the removal process. You can do this by removing the oil drain plug and the coolant drain plug.
Removal of the Old Engine
4. Remove the Hood
To gain better access to the engine bay, consider removing the hood. This step can make the entire process easier and safer. Use a helper to assist you, as the hood can be heavy. How to Install a 1HD-FTV Engine in Your Toyota Land Cruiser
5. Disconnect Engine Components
Carefully disconnect the following components from the engine:
- Electrical Connections: Label and disconnect all wiring harnesses, sensors, and connectors.
- Fuel Lines: Use appropriate tools to safely disconnect the fuel lines.
- Cooling Hoses: Remove the radiator hoses and any other cooling system connections.
- Exhaust System: Unbolt the exhaust manifold from the engine.
- Transmission: Depending on your setup, you may need to disconnect the transmission from the engine. How to Install a 1HD-FTV Engine in Your Toyota Land Cruiser
6. Support the Engine
Use the engine hoist to support the engine. Attach the hoist to the engine lifting points, ensuring it is secure.
7. Remove Engine Mounts
Unbolt the engine mounts from the frame and the engine. Once everything is disconnected, carefully lift the engine out of the bay. How to Install a 1HD-FTV Engine in Your Toyota Land Cruiser
Installing the 1HD-FTV Engine
8. Prepare the New Engine
Before installation, inspect the 1HD-FTV engine for any signs of damage. Replace gaskets and seals as necessary to ensure a proper fit and prevent leaks.
9. Install New Engine Mounts
If your new engine comes with different mounts or if your old mounts are worn, now is the time to install new engine mounts. This ensures that the engine is securely attached and minimizes vibration.
10. Lower the New Engine into Place
With the help of the engine hoist, carefully lower the 1HD-FTV engine into the engine bay. Align it with the engine mounts and ensure everything is in place. How to Install a 1HD-FTV Engine in Your Toyota Land Cruiser
11. Secure Engine Mounts
Once the engine is positioned correctly, bolt the engine mounts to the frame. Use a torque wrench to tighten the bolts to the manufacturer’s specifications.
12. Reconnect Components
Start reconnecting the components that were removed during the old engine removal:
- Transmission: Bolt the transmission back to the engine.
- Exhaust: Reattach the exhaust manifold and any exhaust piping.
- Cooling System: Reconnect the radiator hoses and any other cooling connections.
- Fuel Lines: Reconnect the fuel lines and check for leaks.
- Electrical Connections: Reconnect all wiring harnesses and sensors, ensuring they are properly secured. How to Install a 1HD-FTV Engine in Your Toyota Land Cruiser
Final Steps
13. Fill Fluids
Once everything is reconnected, fill the engine with the appropriate type and amount of engine oil. Also, refill the cooling system with coolant. How to Install a 1HD-FTV Engine in Your Toyota Land Cruiser
14. Reconnect the Battery
Reattach the negative terminal of the battery to restore power to the vehicle.
15. Start the Engine
Before starting, double-check all connections and ensure that there are no tools left in the engine bay. Start the engine and allow it to idle. Listen for any unusual sounds and check for leaks in the fuel and cooling systems. How to Install a 1HD-FTV Engine in Your Toyota Land Cruiser
16. Test Drive
Once the engine is running smoothly, take the Land Cruiser for a test drive. Pay attention to engine performance, and be on the lookout for any signs of trouble. Monitor oil pressure and temperature, and ensure everything operates as expected. How to Install a 1HD-FTV Engine in Your Toyota Land Cruiser
Troubleshooting Common Issues
If you encounter any issues during or after installation, consider the following:
- Starting Issues: Check electrical connections and ensure the fuel system is primed.
- Overheating: Ensure the cooling system is properly filled and there are no leaks.
- Leaks: Inspect all gaskets and connections for signs of leaks.
Conclusion
Installing a 1HD-FTV engine in your Toyota Land Cruiser can significantly enhance its performance and reliability. While the process requires careful planning and execution, following the steps outlined in this guide will help you achieve a successful installation. Always refer to your vehicle’s service manual for specific torque specifications and detailed instructions. With patience and attention to detail, you can enjoy the benefits of your upgraded Land Cruiser for years to come! How to Install a 1HD-FTV Engine in Your Toyota Land Cruiser
Installation Guide for the Yanmar 8LV370 Inboard Diesel Engine
Customer Reviews and Experiences with the Yanmar 8LV370 Inboard Diesel Engine
Best Applications for the Yanmar 8LV370 Inboard Diesel Engine
Ultimate Guide to Upgrading the Chevy LS3 6.2L V8 to 700+ HP
Unveiling the Power and Precision of Subaru Engines: A Comprehensive Guide


Best Auto Motors
S.H CONTINENTAL BUSINESS LLC
Buy the best quality engines from our website online and get a fast delivery within 6 days.
Copyright 2022.KlbTheme . All rights reserved
